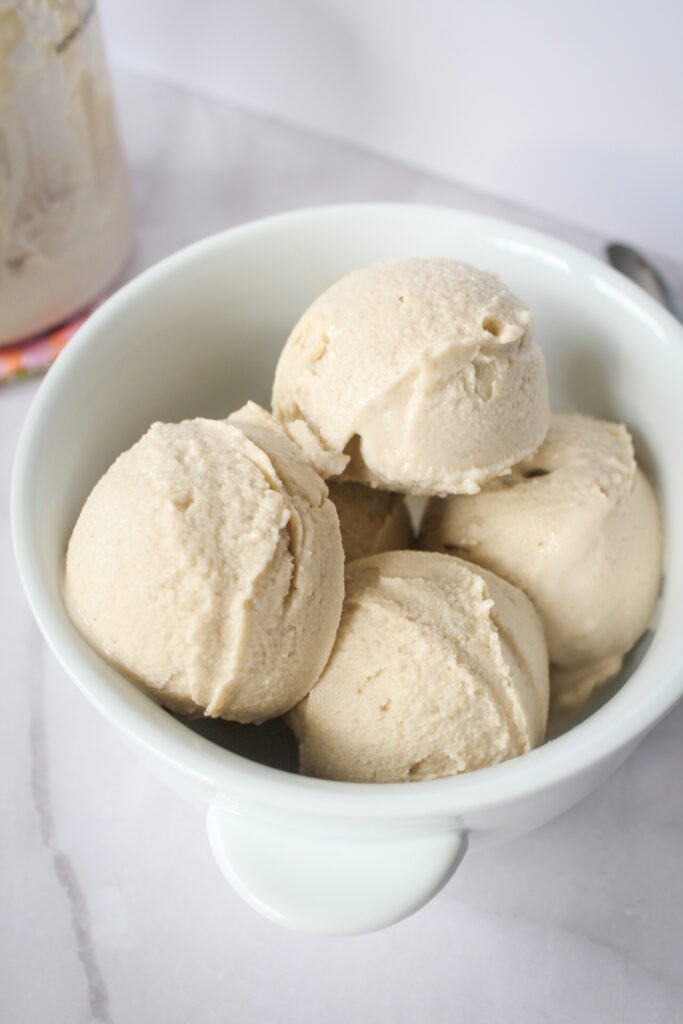
This ultra-creamy vanilla protein ice cream will be your new favorite healthy dessert or post-workout snack!
Disclosure: The post may contain affiliate links, earning us a small commission from qualifying purchases at no extra cost to you.
Cool, creamy, and oh so satisfying, this Ninja Creami Vanilla Protein Ice Cream satiates that ice cream craving while still maintaining a healthy, whole food profile. We love using our Ninja Creami for making a variety of homemade, plant-based treats, including milkshakes, sorbets, ice creams, smoothie bowls, and gelatos. This vanilla protein ice cream is simple, protein-rich, and pairs perfectly with our Warm Cinnamon Apples with Walnuts.
Want more sweet treats and hormone-friendly desserts? Find all of our indulgent, yummy recipes to satisfy your sweet tooth right here!
What We Love About This Recipe
This recipe is so simple and versatile and can be enjoyed every day of the week. Here are our top reasons for loving it!
- Guilt-free Ice Cream: Because this is low calorie and made with whole food ingredients, you can indulge freely without the concern of added sugars or other processed ingredients often found in many ready-made ice cream brands.
- Protein-rich: One serving (½ pint) of this ice cream provides a whopping 25 grams of protein! That makes it especially beneficial throughout menopause, as muscle loss is a large concern. Eat this post-workout snack to hit your protein goals in the most enjoyable way.
- Simple to Prepare: This is one of those “no-brainer” recipes. Simply whisk everything together in the Ninja Creami pint cup that comes with the appliance, pop it in the freezer, and you are good to go! After the long freeze (7-8 hours), it will be ready to be processed in your Ninja Creami. (Quick Tip: If you freeze this first thing in the morning, it should be ready to enjoy right after dinner!)
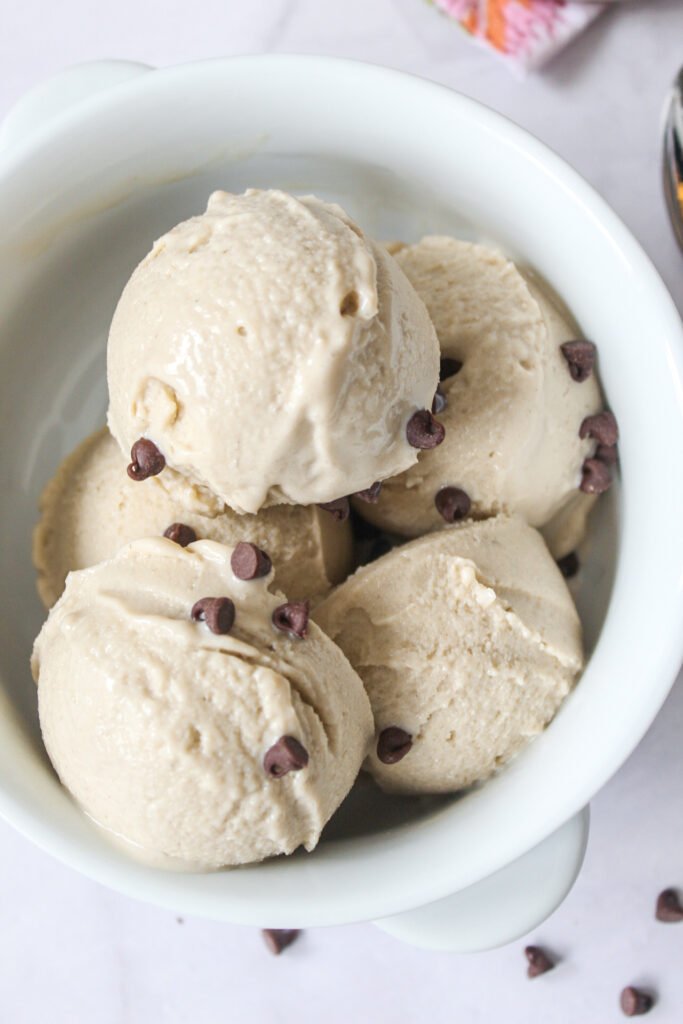
- Delicious Mix-ins: The wonderful thing about this recipe is how versatile it is. Mix-ins are things like fruit, chocolate chips, or nuts that add a bit of texture and flavor to enhance the ice cream. Some of our favorites are freeze-dried fruit, coconut flakes, crushed health bars or cookies, walnuts or pecans, seeds, nut butter, dates, frozen berries, frozen banana chunks, granola, and dark chocolate chunks or cacao nibs.
Plant-Based Protein Powder Shopping Tips:
With so many plant-based protein options available to purchase, it’s hard to know which one to choose. Most of us hope for clean, minimally processed ingredients that we can feel good about. Here are some tips to help you choose a protein powder that is right for you.
- Check for Third-Party Testing: Unfortunately some plant-based protein powders have tested high for lead, among other heavy metals. Plant-based protein powders tend to have higher concentrations of heavy metals due to plants absorbing them naturally from the soil and water; however, some levels have exceeded what would be deemed safe. Check to see if the company has the results from third-party testing, and ask for a copy of those results. Some companies are very transparent and will have them available right on their website. Others you may have to ask.
- Check the Ingredients List: Look out for powders that contain a long list of ingredients that are unrecognizable or artificial. Check for allergens if necessary.
- Check the Return Policy: Nothing is worse than dishing out a large sum of money for 30 servings of something you end up not liking. You can ask the company for samples or see if they have an open container return policy.
- Brands We Are Loving: Here are a few brands we love that tick the boxes for safety and flavor!
How to Make Ninja Creami Vanilla Protein Ice Cream
See the full recipe card with measurements and instructions below.
What You’ll Need:
- plant-based vanilla protein powder
- soy milk, plain, original
- plant-based cream cheese
- maple syrup
- vanilla extract
How to Make this Recipe:
- Soften Cream Cheese: Prepare the cream cheese by warming it up slightly to soften it. (I do this by heating it in a small dish in the microwave for 10 seconds.)
- Combine Ingredients: Measure ¾ cup soy milk and pour it into a Ninja Creami pint cup. Add the protein powder, cream cheese, maple syrup, and vanilla extract. Use a small wire whisk or fork to mix everything until well combined.
- Add Milk: Add enough soy milk to the mixture to reach the max fill line on the pint cup. (About ¾ cup more.) Whisk again until everything is thoroughly mixed.
- Long Freeze: Put the lid on the pint and place it in the freezer for at least 7 to 8 hours. (Tip: For an evening dessert, prepare it first thing in the morning.)
- Spin to Consistency: Once completely frozen, remove it from the freezer and allow it to sit at room temperature for 5-10 minutes to soften a bit. Next, following the Ninja Creami manufacturer instructions, spin the mixture on “Ice Cream” mode. If it seems powdery, use the “Re-Spin” option. (If necessary, add a tablespoon of soy milk and continue to re-spin it until it reaches a creamy, ice cream-like consistency.)
- Add Mix-ins: Add mix-ins, if desired. Make a small well in the center of the ice cream with a spoon and add small chunks of chocolate, fruit, or nuts. Select the “Mix-In” option.
- Serve: To serve, scoop the ice cream into two bowls and enjoy! (Note: Half can be saved in the freezer for later but will have to be spun again.)
Notes
- Soften the Cream Cheese: The cream cheese will blend with the milk and other ingredients much easier if it is softened first. I prefer to soften it in the microwave for 10 seconds in a small microwave-safe bowl. Alternatively, you could leave it out on the counter for 15 minutes, allowing it to come to room temperature.
- Blend Well: Try to eliminate lumps by stirring everything vigorously with a small whisk or fork.
- Make it Sweeter: Taste the mixture before freezing. Add a tablespoon more of the maple syrup if you’d prefer it to be sweeter.
- Soften Before Spinning: The mixture in the pint cup will be very hard when it’s first pulled from the freezer. To prevent from having to perform too many “re-spins,” allow it to sit on the counter for 5-10 minutes. You can also run the bottom and sides of the pint cup under warm water to loosen things up. If all else fails, add a tablespoon of milk to the mixture during the re-spin.
- Consistency: The consistency after the first spin is typically powdery. Run a “re-spin” once or twice more until it gives you a creamy consistency that is similar to ice cream.
- Freezing Time: The manufacturer’s instructions advise allowing it to freeze for 18-24 hours. We have had success with as little as 7-8 hours. The shorter time frame seems to prevent more re-spins. Play around with the freezing time to figure out what works best for you.
- How to Add Mix-ins: To add a mix-in, such as chocolate chips, do all the spins necessary to attain the ice cream-like consistency. Then make a well in the center of the ice cream and add the mix-in. Then select “Mix-In” on your Ninja Creami.

Ninja Creami Vanilla Protein Ice Cream (Vegan)
Ingredients
- 2 scoops plant-based vanilla protein powder
- 1½ – 1¾ cups (360-366g) plain, original soy milk
- 1 tbsp (14g) plant-based cream cheese
- 1 tbsp (15mL) maple syrup
- 1 tsp (5mL) vanilla extract
Equipment
Method
- Soften Cream Cheese: Prepare the cream cheese by warming it up slightly to soften it. (I do this by heating it in a small dish in the microwave for 10 seconds.)
- Combine Ingredients: Measure ¾ cup soy milk and pour it into a Ninja Creami pint cup. Add the protein powder, cream cheese, maple syrup, and vanilla extract. Use a small wire whisk or fork to mix everything until well combined.
- Add Milk: Add enough soy milk to the mixture to reach the max fill line on the pint cup. (About ¾ cup more.) Whisk again until everything is thoroughly mixed.
- Long Freeze: Put the lid on the pint and place it in the freezer for at least 7 to 8 hours. (Tip: For an evening dessert, prepare it first thing in the morning.)
- Spin to Consistency: Once completely frozen, remove it from the freezer and allow it to sit at room temperature for 5-10 minutes to soften a bit. Next, following the Ninja Creami manufacturer instructions, spin the mixture on "Ice Cream" mode. If it seems powdery, use the "Re-Spin" option. (If necessary, add a tablespoon of soy milk and continue to re-spin it until it reaches a creamy, ice cream-like consistency.)
- Add Mix-ins: Add mix-ins, if desired. Make a small well in the center of the ice cream with a spoon and add small chunks of chocolate, fruit, or nuts. Select the "Mix-In" option.
- Serve: To serve, scoop the ice cream into two bowls and enjoy! (Note: Half can be saved in the freezer for later but will have to be spun again.)